Screen Printing Basics – Spokane Gear
Screen Printing Basics – Spokane Gear - Screen printing is a versatile and widely used printing technique that has been around for centuries. It is a process that involves transferring ink onto a substrate through a fine mesh screen. From T-shirts and posters to packaging materials and electronic circuit boards, screen printing finds applications in various industries. In this article, we will explore the basics of screen printing, its process, equipment, and key considerations.
The Process:
Screen printing involves several essential steps that ensure accurate and consistent results.
Here's a breakdown of the process:
1. Design Preparation:
Start by creating or obtaining the desired design that you want to print. It can be a hand-drawn illustration or a digital artwork.
2. Screen Preparation:
A mesh screen is coated with a light-sensitive emulsion. The emulsion is thn dried and exposed to UV light using the design as a stencil. The UV light hardens the emulsion, except in areas where the design blocks it.
3. Washing:
After exposure, the screen is washed with water, removing the unhardened emulsion and leaving a stencil of the design on the screen.
4. Ink Application:
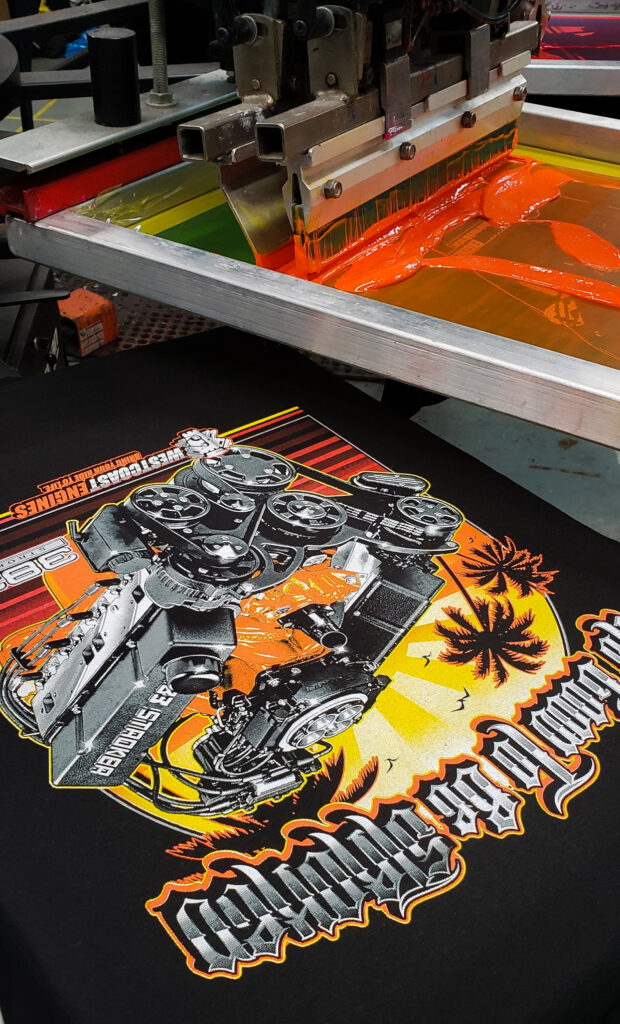
Place the screen on top of the substrate to be printed. Ink is poured onto the screen, which is then spread using a squeegee. The ink passes through the open areas of the stencil and transfers onto the substrate.
5. Drying and Curing:
Once the ink is applied, the substrate needs to dry and cure. This can be done using a heat press or a conveyor dryer, depending on the type of ink and substrate.
Equipment:
To get started with screen printing, you'll need a few essential pieces of equipment:
1. Screen:
Choose a mesh screen appropriate for your design and substrate. The mesh count refers to the number of threads per inch and determines the level of detail and ink coverage.
2. Emulsion:
A light-sensitive emulsion is applied to the screen to create the stencil. Choose the right emulsion for your specific needs, considering factors like exposure time and type of ink.
3. Squeegee:
This handheld tool is used to push the ink across the screen and onto the substrate. Squeegees come in various shapes and sizes to accommodate different printing requirements.
4. Ink:
Select the ink based on the substrate and desired effect. Water-based inks are commonly used for textiles, while solvent-based inks are suitable for materials like plastic and metal.
5. Exposure Unit:
An exposure unit is used to expose the emulsion-coated screen to UV light. It ensures precise and consistent exposure, resulting in a high-quality stencil.
Considerations:
When embarking on screen printing, keep the following considerations in mind:
1. Design Complexity:
Intricate designs with fine details may require a higher mesh count and more advanced techniques. Simplify the design if needed or seek professional assistance.
2. Substrate Compatibility:
Different substrates have varying levels of ink absorbency and surface textures. Test your ink on a sample piece before proceeding with a full production run.
3. Setup
Space and Ventilation: Screen printing requires adequate space for equipment, drying racks, and proper ventilation to control fumes from inks and chemicals.
4. Practice and Experimentation:
Screen printing is an art form that improves with practice. Don't be discouraged by initial challenges. Experiment with different techniques, inks, and substrates to discover what works best for you.
Screen printing offers a versatile and effective method for reproducing designs on various surfaces. Understanding the basics of the process, acquiring the right equipment, and considering key factors will help you embark on your screen printing journey. With patience, practice, and creativity, you can unlock a world of possibilities and create unique printed creations.
Screen Printing Basics – Spokane Gear


